From Basics to Fixes: Your Essential Guide to RF Drivers
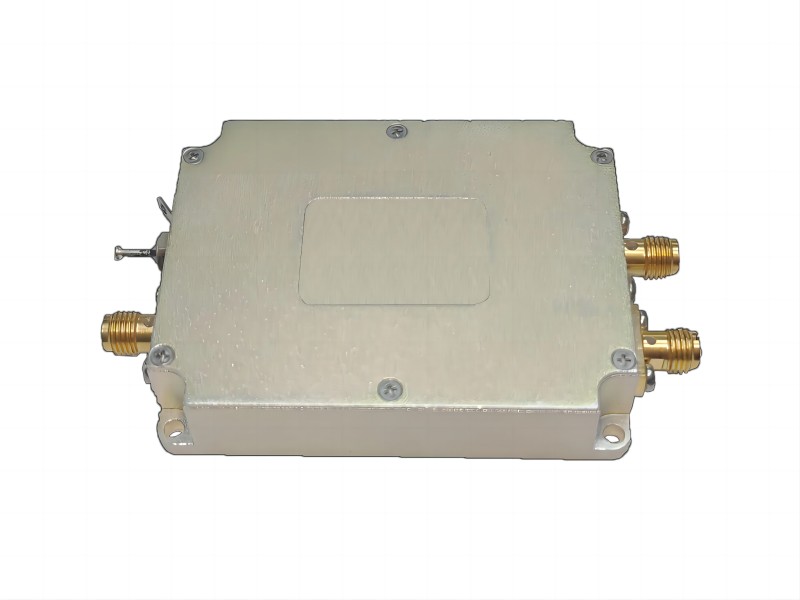
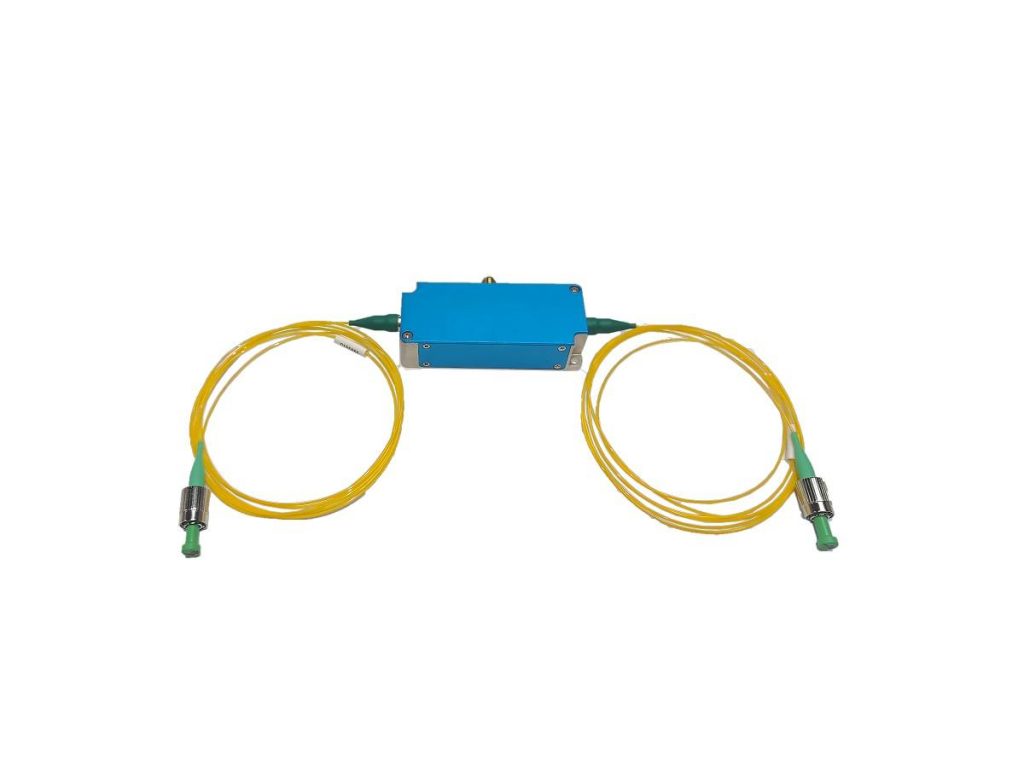
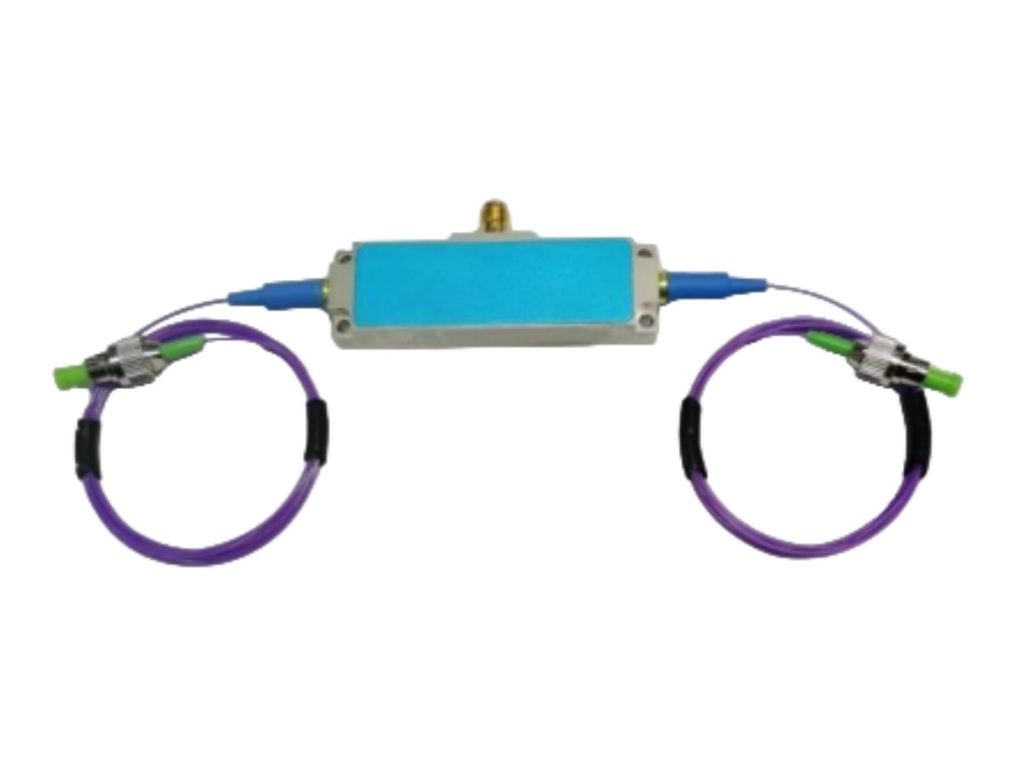
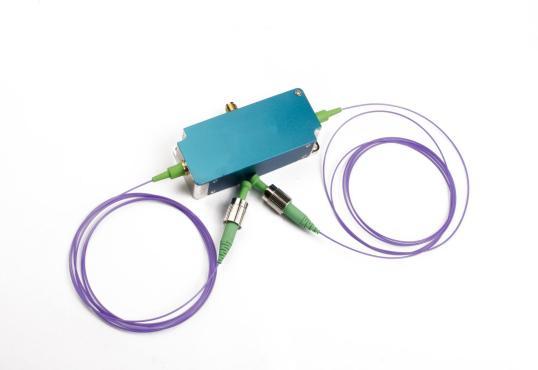
RF (radio frequency) technology underpins a wide range of applications, including wireless communication devices and radar systems. At the heart of this technology is the RF driver, a critical component that amplifies low-power electrical signals to produce powerful radio waves. However, harnessing this power necessitates understanding how to use an RF driver effectively. As a high-tech enterprise specializing in the R&D, manufacturing, and sales of acousto-optic devices and driving power supplies, optical active and passive devices, lasers, and their related devices, SMART SCI&TECH has lots of experience in these parts. This article delves into the practical aspects of using an RF driver, walking you through the connection, configuration, and basic testing procedures.
How do I use an RF driver?
Using an RF driver requires several steps, which vary depending on the driver and your circuit design. This is a general guide:
Preparation
- Gather your tools: Basic checks will most likely require a soldering iron, screwdrivers, wrenches (if using connectors), and a multimeter.
- Consult the datasheets: This is crucial. The datasheet for your specific RF driver will include connection diagrams, recommended operating voltages, and configuration options.
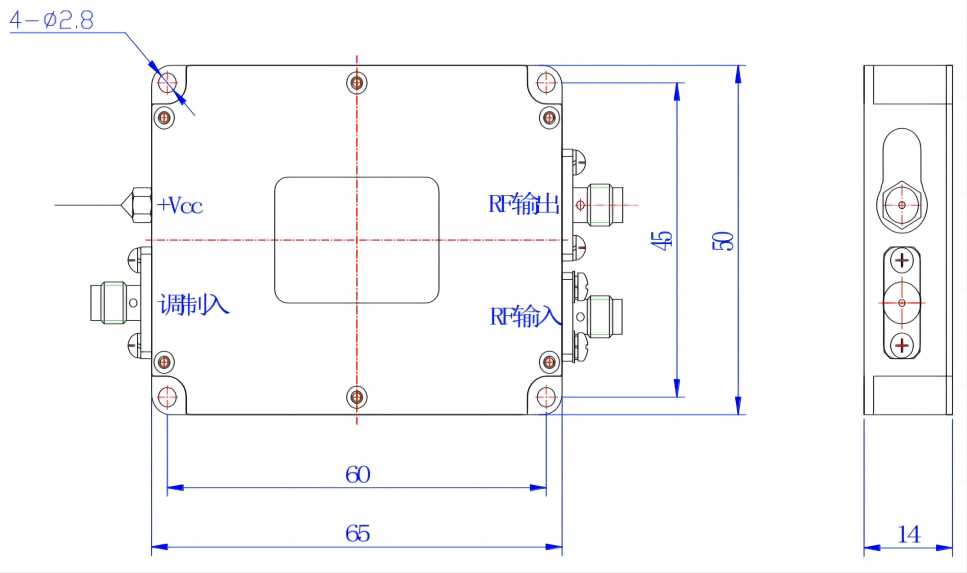
- Assemble your circuit: Assemble the components according to your circuit schematic, including the RF driver, power supply, input signal source (such as an oscillator), and the RF circuit it drives. Pay close attention to component placement and polarization.
Connecting the RF Driver
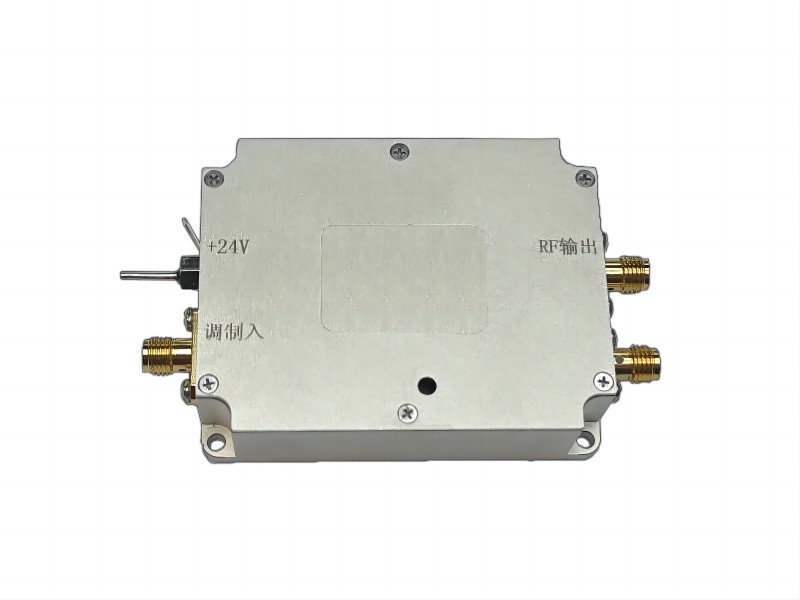
- Power Supply: Connect the power supply to the driver’s designated power input pins, adhering to the voltage and current specifications on the datasheet. Double-check the polarity!
- Input Signal: Connect a low-power signal source, such as an oscillator, to the driver’s input pins as specified in the datasheet. The driver will amplify this signal.
- RF Output: Connect the RF output of the driver to the input of the RF circuit it’s driving (antenna or amplifier). This connection method depends on the driver and circuit design. Common options include Coaxial Cable: Use a properly terminated coaxial cable with appropriate impedance (usually 50 ohms) to connect the driver to the RF circuit. Microstrip Lines: For higher frequency applications, microstrip lines might be used on a printed circuit board (PCB) to connect the driver.
Configuration and Testing
- Driver Settings: Some drivers have adjustable settings like gain or output power. Following the datasheet instructions, configure these settings based on your application’s requirements.
- Power Up: With everything connected and double-checked, power on the circuit starting from the power supply.
- Basic Checks: Use your multimeter to verify voltage levels at designated points on the driver as outlined in the datasheet. This helps ensure the driver is receiving proper power.
Advanced Testing and Use
- Signal Analysis: For more advanced applications, you might use a spectrum analyzer to analyze the output signal of the driver and ensure it meets your needs in terms of frequency, power level, and signal quality. This is especially important for communication or radar systems.
Safety Precautions
- Always follow safety protocols when working with electronics, including using proper anti-static precautions to avoid damaging components.
- Be aware of potential high voltages or currents in the circuit, especially around the power supply and RF output.
- If you’re unsure about any step, consult the datasheet or seek help from a qualified electronics technician.
This is a general guideline. The specific steps for using your RF driver will depend on the model and your application. Always prioritize safety and refer to the datasheet for detailed instructions.
What Are Some Common Problems with RF Drivers and How Can I Troubleshoot Them?
| Problem | Possible Cause | Troubleshooting Steps |
| Low output power | Driver not properly connected to the RF circuit Damaged driver Incorrectly configured driver settings Inadequate power supply | Check connections between the driver, power supply, and RF circuit Replace the driver if necessary Verify driver settings match the circuit requirements Ensure the power supply provides sufficient current and voltage |
| Signal distortion | Harmonics or other unwanted signals generated by the driver Driver operating outside its linear range Interference from external sources | Use a spectrum analyzer to identify and address sources of distortion Adjust driver settings to operate within its linear range Shield the driver and circuit from external interference |
| Overheating | Excessive current draw Inadequate heatsinking Poor ventilation | Reduce current draw by adjusting driver settings or using a lower power supply Ensure the driver has a proper heatsink and is mounted in a well-ventilated area |
| Erratic operation | Faulty driver Noise or interference in the power supply or signal lines Software issues | Replace the driver if necessary Check for noise or spikes in the power supply and signal lines Update software or firmware if available |
Conclusion
Following these steps and adhering to safety protocols, you’ll be well on your way to utilizing RF drivers in your projects. However, even the most meticulous setup can encounter hiccups. The final section of this article tackles some common problems that might arise with RF drivers and equips you with a troubleshooting table to diagnose and rectify these issues. With a grasp of both usage and troubleshooting, you’ll be empowered to confidently navigate the world of RF drivers and unlock their full potential in your endeavors. Of course, we will continue to give you more professional guides about our devices.