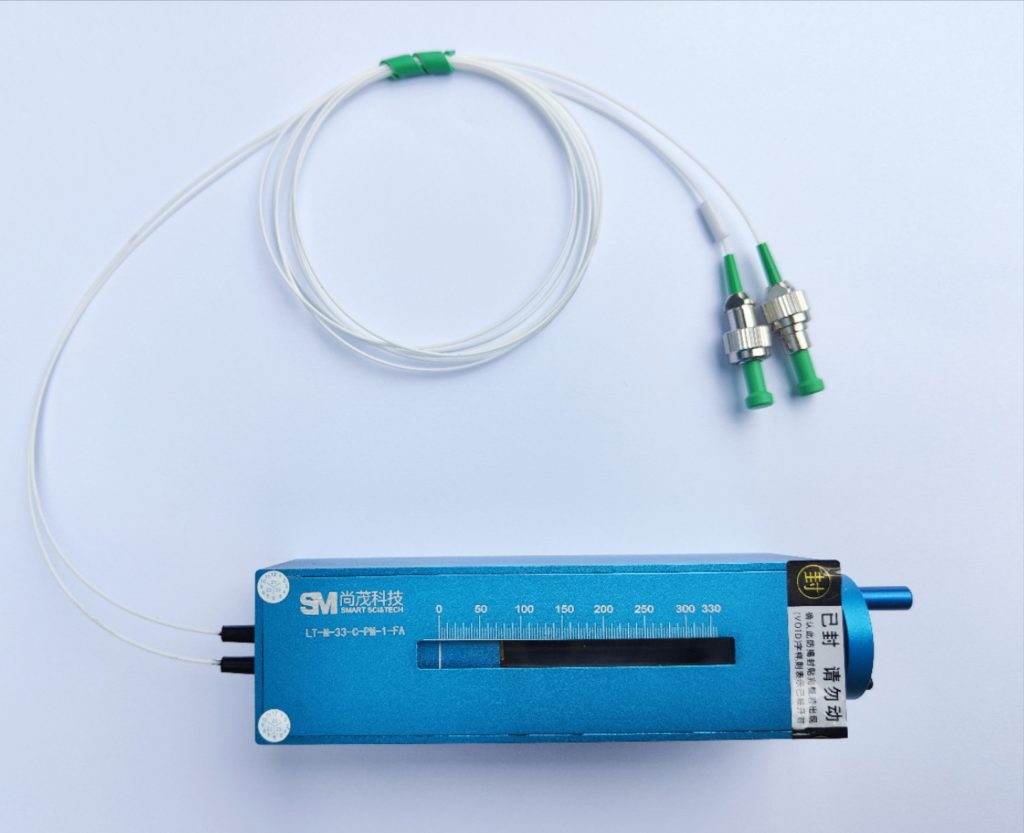
A Guide to Cleaning Electric Optical Delay Lines
The electro-optical delay line you just bought suddenly has unstable signal delay and larger measurement error? When you open it, you will find fingerprints and dust all over the optical surface, and even unknown stains – don’t rush to wipe it with a tissue! The wrong cleaning method will not only fail to save the equipment, but may also directly destroy the coating. Today, we will show you the cleaning solution used by professional laboratories. You don’t need to understand the complicated principles, just follow it to revive the delay line.
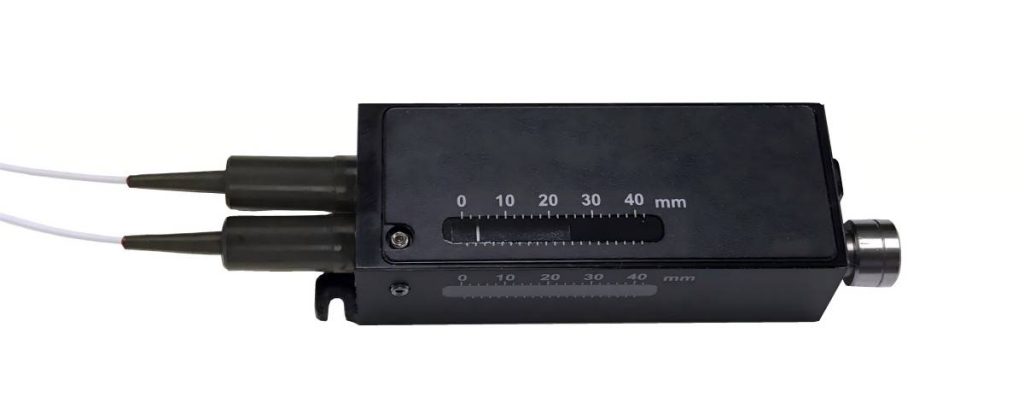
1. Key preparation before cleaning: 90% of the problems come from this step
(I) 3 wrong cleaning habits that must be stopped
1. Use ordinary alcohol to wipe the coating? Special cleaning agents are the right choice
Many people just pick up the medical alcohol on the table and wipe it, but they don’t know that the moisture and impurities in 75% alcohol will corrode the coating. The correct way is to choose 99.9% high-purity isopropyl alcohol, or professional optical equipment cleaner, just like using special maintenance oil for precision watches. If the ingredients are wrong, it will damage the machine.
2. Touch the optical surface directly with your hands? Dust-free finger cots + tweezers are the standard
The grease and sweat on your fingers will form stains that are difficult to remove on the optical surface. Be sure to wear dust-free finger cots before cleaning, and use anti-static tweezers to hold the edge when taking the lens, just like a jeweler holding a diamond, to avoid directly touching the core part.
3. Blow with compressed air? The low-pressure technique will prevent the dust from getting dirtier the more you blow
The airflow from a normal compressed air tank is too strong, which can easily blow dust into the gaps and even generate static electricity to attract more particles. The correct way is to buy a special nitrogen tank, keep a distance of 15-20 cm, and blow gently at a 45-degree angle, just like using a feather duster to remove dust, the strength and angle are very important.
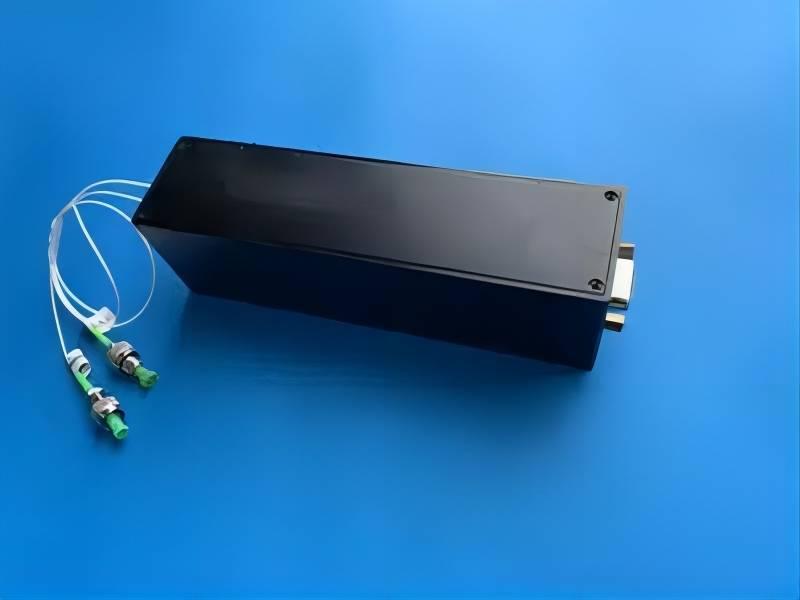
(II) Tool list: 4-piece set used by professional laboratories
- Microfiber lens paper: Never use tissue paper or wet wipes. Ordinary tissue paper with rough fibers is like sandpaper and will leave fine scratches on the lens. Look for lens paper marked “For Optical Cleaning” and it will feel as soft as silk.
- High-purity isopropyl alcohol: Check the test report before buying. Do not use products with a purity lower than 99.9%. Simple identification method: Pour a little on clean glass. Only qualified products will leave no trace after evaporation.
- Anti-static cleaning stick: 10 times better than cotton swabs! The pointed design can accurately clean small gaps, and the built-in cleaning liquid will not leak everywhere, just like using a fine-tipped paintbrush to accurately color and wipe wherever you point.
- Nitrogen tank: Be sure to choose an oil-free and water-free model. Only those with the “For Optical Cleaning” logo on the tank are reliable. Cheap industrial nitrogen contains water, which will leave water stains on the lens after spraying.
2. Step-by-step cleaning process: practical strategies for different pollution sources
(I) Dust/particle removal: blow first and then stick to avoid scratches
Pain point: direct wiping can easily cause dust particles to scratch the coating
Solution: First use a nitrogen tank to gently blow from left to right at a 45-degree angle to blow away large particles; then take out the gel dust removal pen and gently tap on the remaining dust like pressing a stamp, using the stickiness of the gel to absorb tiny particles. This is like sweeping the floor first and then using a vacuum cleaner when cleaning a room. Cleaning in steps is more thorough.
(II) Fingerprint/grease cleaning: spiral wiping method, say goodbye to residual streaks
Pain point: wiping back and forth can easily leave water marks and lint
Solution: Drop 3-4 drops of isopropyl alcohol on the lens paper, be careful not to drop it directly on the lens! Then press the center of the lens paper with your fingertips and wipe it clockwise from the inside to the outside. After wiping once, change the clean part and don’t rub back and forth. Just like wiping stains on glass, one-way rotation can wipe the cleanest.
(III) Stubborn contaminants (such as glue stains): Dissolve in stages to avoid damaging the coating.
Pain point: Forced wiping will damage the coating, and ordinary solvents cannot wipe it off.
Solution: First drop a small amount of ether on the cleaning stick, gently apply it to the glue stain for 10 seconds, wait for the glue stain to soften, and then wipe it with a cleaning stick containing isopropyl alcohol. Remember to do it in two steps: ether dissolves the glue stain, and isopropyl alcohol removes the residue, just like first soaking stubborn oil stains with water, and then cleaning with detergent, step by step to avoid damaging the pot.
3. Emergency treatment: What should I do if the performance decreases after cleaning?
(I) Reduced light transmittance after cleaning
Phenomenon: Things become blurry when looking through the lens, as if covered by a layer of fog
Reason: You may have used a solvent of insufficient purity, or you may have used too much force when wiping and dissolved the coating
10-minute repair plan: Stop cleaning immediately, blow dry the lens with a nitrogen tank, then take out a flashlight and shine it diagonally on the surface of the lens. If you see a rainbow-colored reflection, it means that the coating is damaged. Don’t do it yourself at this time, and contact the manufacturer’s after-sales service immediately.
(II) Newton ring interference fringes appear
Phenomenon: Circles of colored ripples appear on the lens, like oil drops on the water surface
Reason: The residual cleaning liquid forms an extremely thin liquid film
10-minute repair plan: First use a nitrogen tank to quickly blow at a vertical angle to blow away the surface liquid; then find a constant temperature drying oven, set it to 50℃ for 10 minutes, or use a hair dryer with a cold wind setting (note that the distance is more than 20 cm) to slowly blow dry and let the residual liquid completely evaporate.
(III) Mechanical structure stuck
Phenomenon: When rotating the delay line, the resistance becomes larger, or even stuck
Reason: Cleaner penetrates into the moving parts such as gears or bearings
minute repair plan: Dip a small amount of anhydrous ethanol with a dust-free cloth, drop it on the edge of the stuck part, gently rotate the part to allow the ethanol to penetrate and dissolve the oil and detergent residue; after the ethanol evaporates, use a toothpick to dip a little precision instrument lubricant (such as watch oil), apply it to the movable connection, and then slowly rotate it a few times to make it smooth.
4. Long-term maintenance: How to keep the delay line in “open box state”?
(I) Anti-pollution storage plan
- Nitrogen-filled drying oven: Put the delay line in the drying oven and set the humidity below 40% RH (you can buy a hygrometer with digital display for monitoring). Actual measured data shows that when the humidity exceeds 50%, the lens is more likely to have mildew and water vapor condensation.
- Do not use silica gel desiccant: Many people use silica gel desiccant for cheap, but inferior silica gel will volatilize organic matter and pollute the lens. It is recommended to use molecular sieve desiccant, or directly buy an electronic moisture-proof box to solve the problem once and for all.
(II) Periodic maintenance plan
- Weekly: Take out the nitrogen tank, open the protective cover of the delay line, and gently blow the optical surface and gaps, just like wiping the dust on the car once a week. Prevention is the most worry-free.
- Quarterly: In a dark environment, use a flashlight to shine on the surface of the lens at an angle (45 degrees is best), slowly rotate the lens to observe, and if obvious scratches, spots or coating shedding are found, contact a professional for inspection in time.
Conclusion:
This guide published by optical delay line supplier Smart Sci & Tech, Remember this key reminder: “Always blow first and then wipe, and never operate without a plan”! Many people clean faster than their brains, and the result is worse and worse. Next time you find that the performance of the delay line has deteriorated, don’t rush to do it. Spend 5 minutes to prepare tools and solutions according to this guide to get your delay line performance curve back to the factory standard.

